TM 5-4320-275-13 & P
CONNECTING ROD ASSEMBLY (CONT)
LOCATION/ITEM
ACTION
REMARKS
13. Cap screw
Use Loctite on cap screw threads. Install lock-
and lockwasher
washer (8) and cap screw (7) on crank. Do not
tighten until connecting rod assembly has been
installed.
14. Connecting
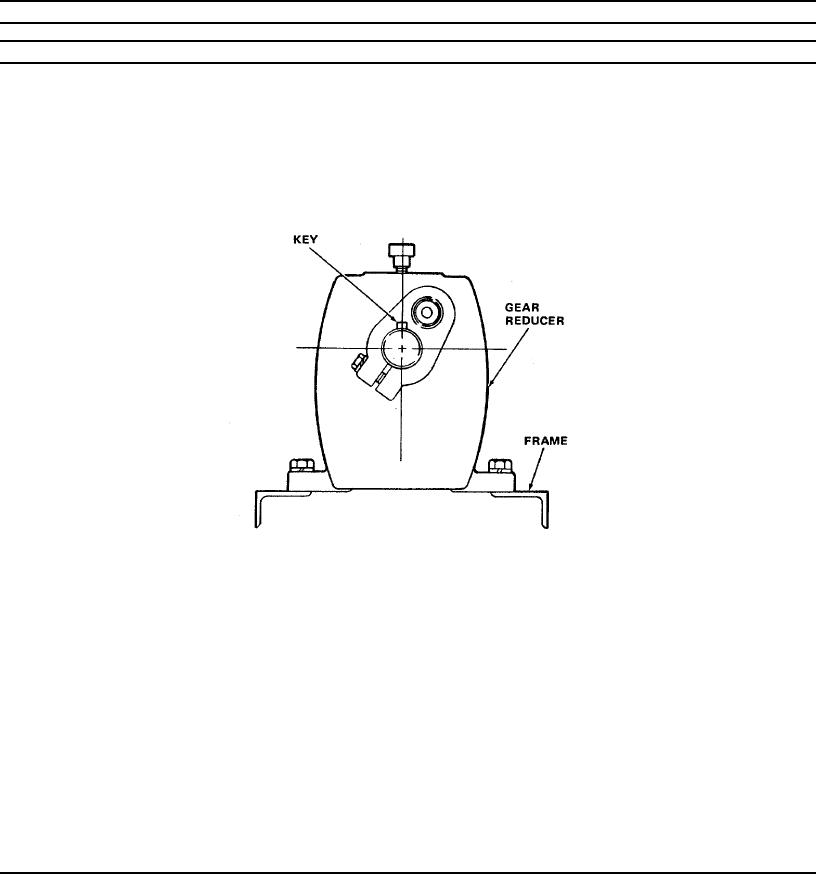
Hand crank engine until square key is rotated to
rod assembly
the 12 o-clock position. Install connecting rod
assembly on the crank.
15. Shoulder bolt
Use Loctite on shoulder bolt threads. Install
shoulder bolt (4) through connecting rod (3)
and into crank (6). Use 1-1/8 inch socket with
torque wrench to tighten shoulder bolt (4) to
75 ft lb (102 Nm).
16. Nuts
Align four holes in connecting rod (3) with
studs sticking through diaphragm.
NOTE
Hand crank the engine to lower the connecting rod to the studs.
Use Loctite on stud threads. Install lockwashers
(2) and nuts (1). Use 3/4 inch socket with torque
wrench to tighten nuts (1) to 40 ft lb (54 Nm).
17. Tighten cap
Use 15/16 inch socket with torque wrench to
tighten cap screw (7) to 75 ft lb (102 Nm).
screw
4-77

