TM 10-4630-206-12&P
0005 00
Assemble the SEP
CAUTION
Do not attempt to move or reposition a SEP that has been
assembled for use or is in operation. The SEP can be easily
damaged, specifically at the QDC fittings and drain valve.
1. If deployed as a component of Force Provider, position the SEP as staked within the Force Provider
wastewater grid and in proximity to the facilities it is to serve, such as the CBL, shower, or kitchen. If
deployed with a standalone facility, position as specified in equipment TM.
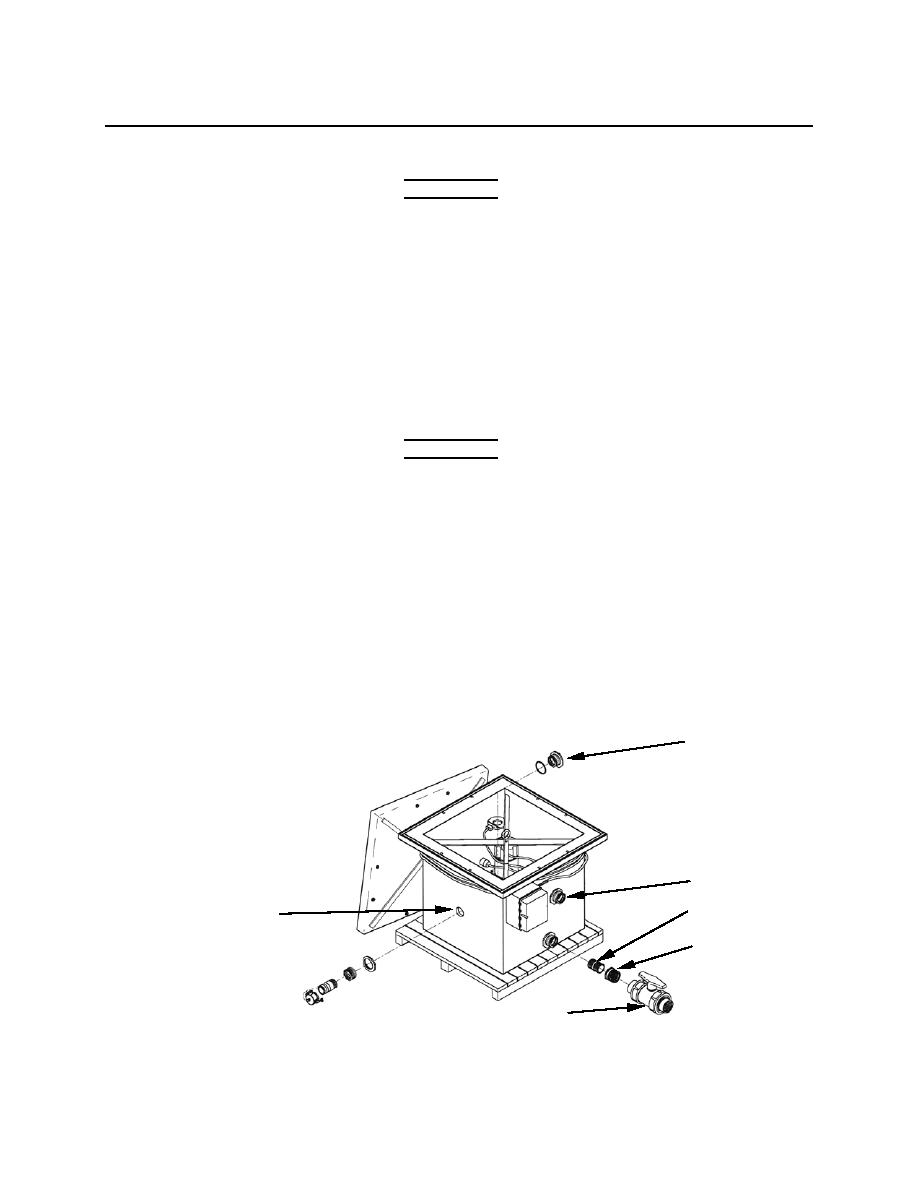
2. If necessary, use a strap wrench or pipe wrench to assemble inlet and discharge ports (1) by
installing components. (9-1-0150-1 and 9-1-0150-2 only).
CAUTION
The SEP may ship with two types of 3-IN. to 2 -IN. bushings. The PVC
(plastic) bushing is only for use with the drain valve. Do not use this
bushing as an adapter to the 2 -IN. discharge QDC fitting, as it may
break during installation or use (9-1-0150-1 and 9-1-0150-2 only).
3. Remove plug from drain port and install 2 1/2-IN. PVC nipple (2) and bushing (3) onto drain port (9-1-
0150-1 and 9-1-0150-2 only). Some 9-1-0150-1 and 9-1-0150-2 SEPs may not have drain ports.
4. Install PVC ball valve (4) (9-1-0150-1 and 9-1-0150-2 only).
5. Install the PVC plug into inlet port not used and tighten (9-1-0150-1 only). Retain unused plugs for
future storage and shipment.
1
1
2
1
3
4
0005 00-3


