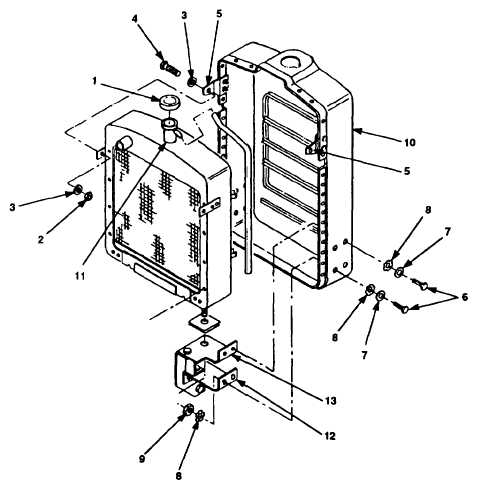
Figure 2-104. Radiator Shall Assembly Removal, Model 609-A.
b .
Replace all defective components.
2.20.1.4 Assembly.
a .
Install two bolts (11), four flat washers (10), two new lock washers (9), and
two ball studs (8) on two side panel assemblies (2). Hand tighten bolts (11).
b .
Position two support brackets (7) on radiator shell (3) and secure with four
bolts (6), new lock washers (5), and four nuts (4).
c .
Position two side panel assemblies (2) on radiator shell (3) and secure with
sixteen screws (1).
2.20.1.5 Installation.
a .
Install radiator shell (Figure 2-104, 10) over radiator neck (11).
b .
Position radiator shell (10) on radiator shell supports (12) and radiator
supports (13).
Four nuts are used with four lower bolts.
c .
Install eight bolts (6), twelve flat washers (7), twelve new lock washers (8),
and eight nuts (9).
2-247
TM 10-4320-344-24
NOTE