
b. Cleaning and Inspection.
(1) Clean all parts in an approved dry cleaning
solvent. Dry with clean, dry, compressed air.
(2) Inspect the flywheel housing for cracks,
damaged sealing surfaces, or other defects.
(3) Inspect the flywheel for damaged teeth, cracks,
distortion, or other defects.
(4) Replace damag d or defective parts.
e
c. Installation.
(1) Position the flywheel housing (5, fig. 56) on the
block (28); secure with the four screws (3),
lockwashers (4), and two nuts (1).
(2) If the teeth on the flywheel ring gear (4, fig. 68)
are damaged, replace the ring gear as follows:
(a) Cut the ring gear with a torch or hacksaw
and remove the ring gear from the
flywheel (3).
Caution:
W hen cutting the ring gear, be
extremely careful not to damage the
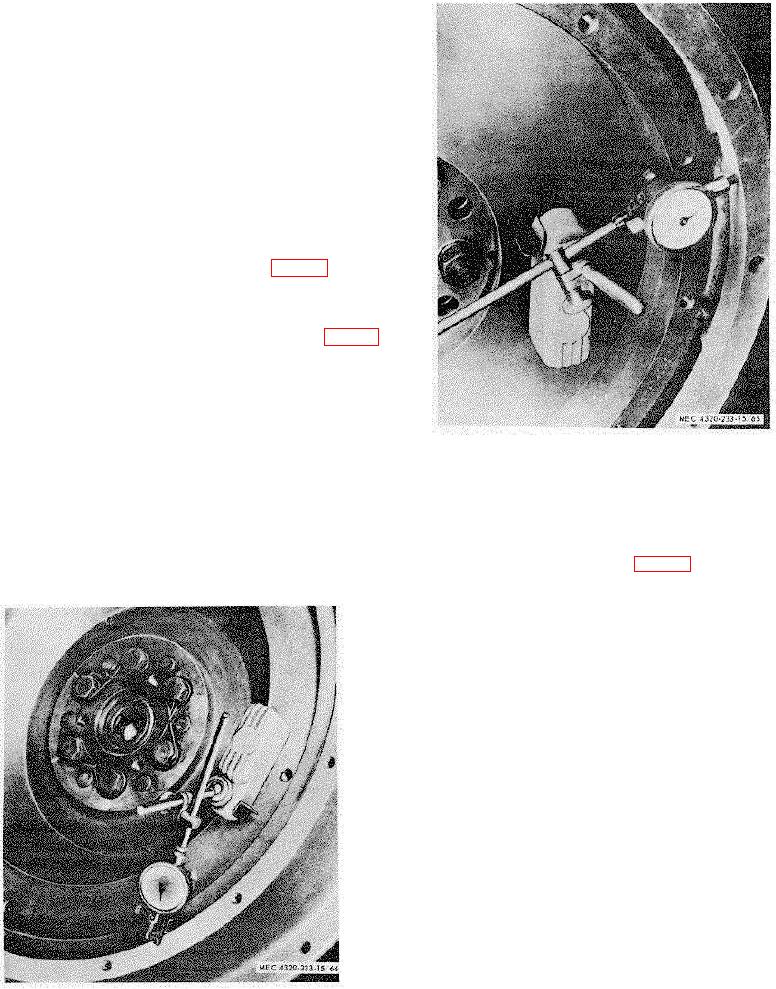
Figure 71. Checking flywheel housing eccentricity.
flywheel.
(b) Heat the replacement ring gear i an oven
n
the ring gear will contract to a very tight fit on the
and cool the flywheel in water or a
flywheel.
refrigerator.
(3) Position the assembled flywheel and ring gear
(c) Position the replacement ring gear on the
on the crankshaft (20, fig. 68); secure with six
flywheel. As the ring gear and flywheel
screws (44), lockwashers (2), and nuts (1).
approach the same temperature,
Tighten the nuts to 85 to 95 foot-pounds torque.
(4) Check flywheel runout by mounting a dial
indicator on the flywheel housing with the
indicating tip against the fade of the flywheel.
Rotate the crankshaft through one full
revolution. Hold pressure against the flywheel
to eliminate crankshaft end play. If flywheel
runout exceeds 0.
008 inch, remove the
flywheel and clean the crankshaft flange and
flywheel seat. Install the flywheel and recheck
runout. If runout still exceeds 0. 008 inch,
replace the flywheel.
(5) Check flywheel eccentricity by mounting a dial
indicator on the flywheel housing with the tip
against the inside of the counterbore of the
flywheel. Rotate the crankshaft through one
revolution. If flywheel eccentricity exceeds 0.
008 inch,
Figure 70. Checking flywheel housing runout.

